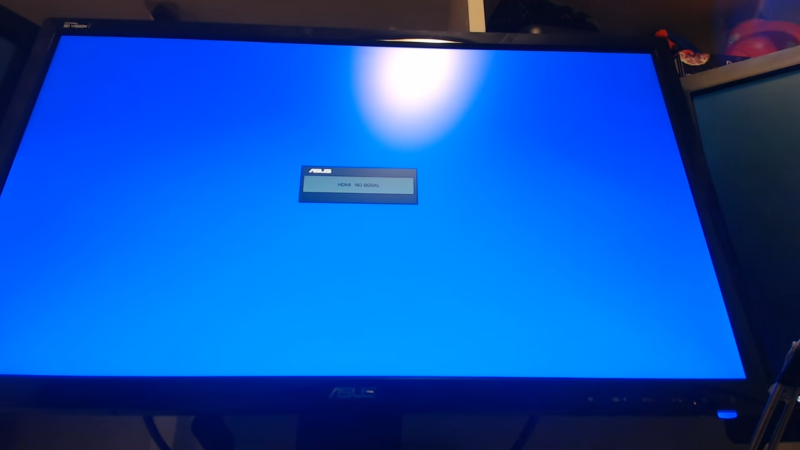
Ever found yourself all geared up for a day of work or a gaming session, only to be greeted by a blank screen with the dreaded “HDMI No Signal” message flashing on your Asus monitor? You’re not alone.
This issue, while being incredibly frustrating, is also quite common. Fortunately, there’s a raft of practical solutions at your disposal that can effectively resolve this predicament, and yes, you can do it yourself!
Asus, known for its reliability and quality, often provides comprehensive troubleshooting guides and customer support to assist users in resolving such technical hiccups effortlessly.
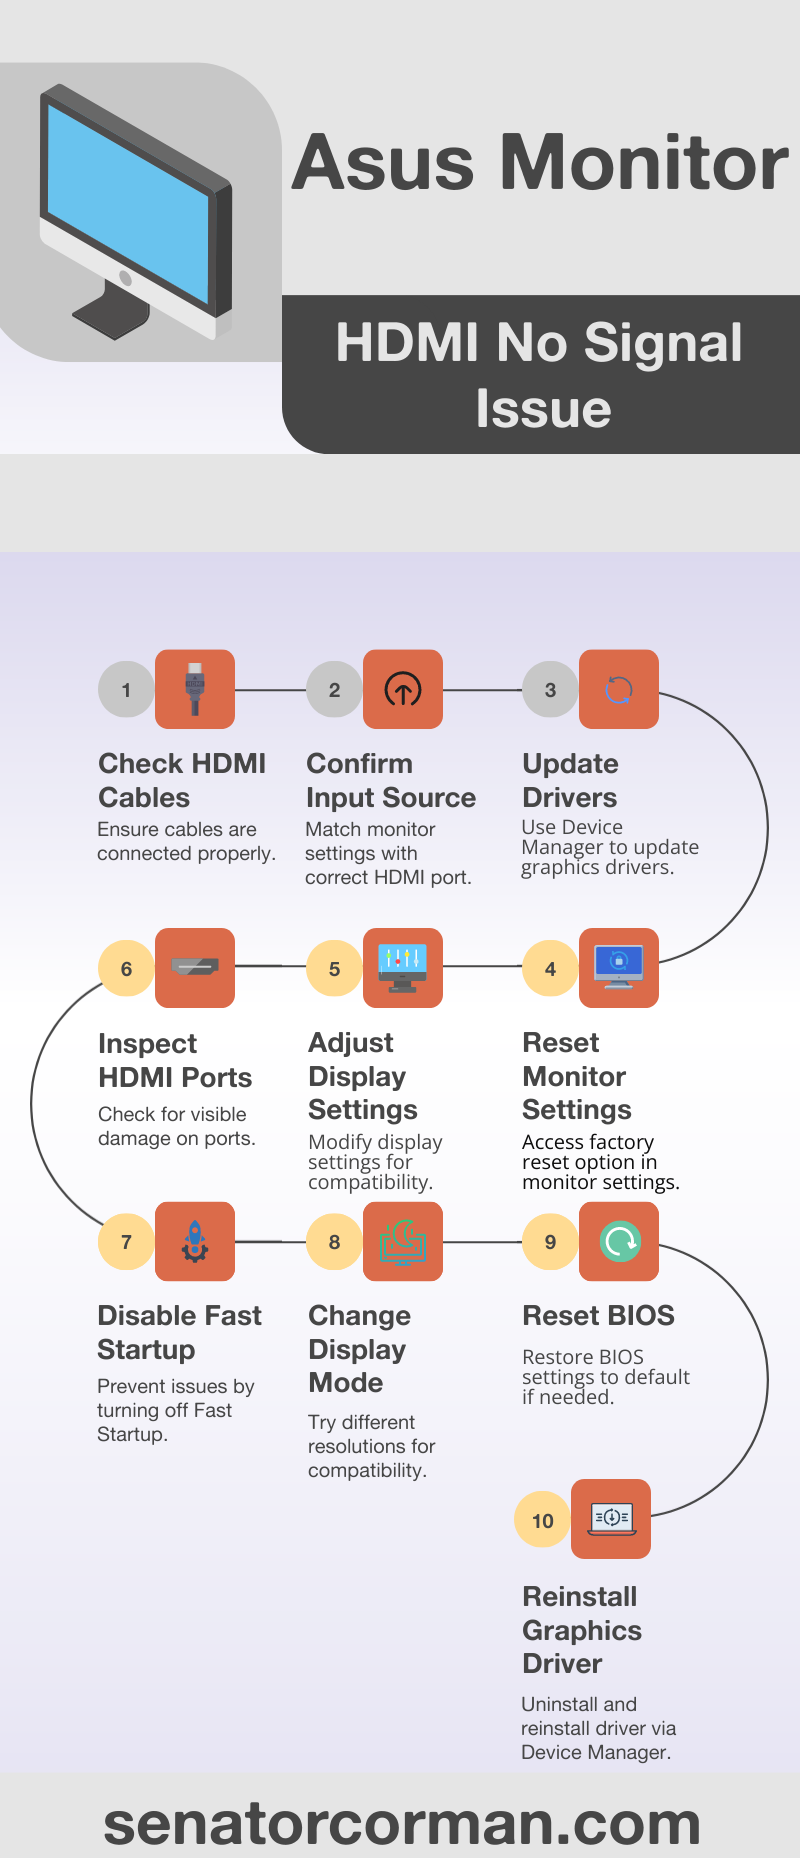
1. Check Your HDMI Cables
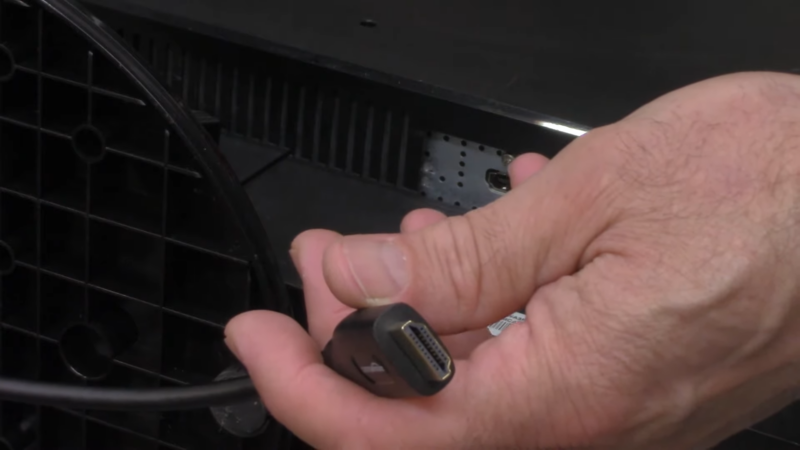
Your HDMI cable is the crucial link between your device and your Asus monitor. If it’s not functioning correctly, it could be the root of your problem. Start by unplugging the HDMI cable from both ends and check for any visible damage.
If the cable looks fine, try plugging it back in, ensuring it’s securely connected. If the problem persists, consider trying a different HDMI cable or connecting to a different device to see if the issue lies with the cable.
2. Verify the Input Source
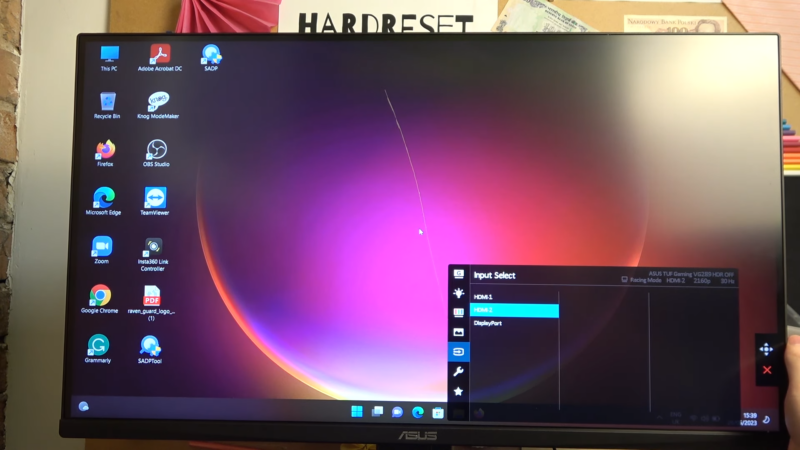
Sometimes, the problem could be as simple as your monitor being set to the wrong input source. Check your Asus monitor settings to ensure it’s set to receive signals from the correct HDMI port. You can usually do this by pressing a button on your monitor to cycle through available input sources.
3. Update Your Drivers
Outdated or corrupt device drivers can also lead to the ‘HDMI No Signal’ issue. To fix this, you may need to update your drivers. Here’s how:
- On your device, open the ‘Device Manager’.
- Expand the ‘Display adapters’ option.
- Right-click on your graphics driver and select ‘Update driver’.
- Select ‘Search automatically for updated driver software’ and follow the prompts.
If there are any new drivers available, your device should locate and install them. After this, restart your device and check if your monitor is working.
4. Reset Your Monitor Settings
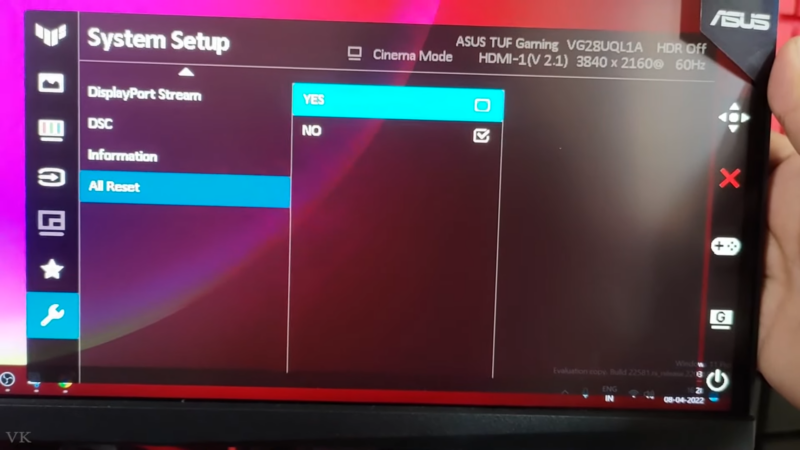
If none of the above steps work, try resetting your Asus monitor to its factory settings. The process varies slightly from model to model, but generally, you can access this option in the monitor’s on-screen display (OSD) settings menu.
5. Check Your Device’s Display Settings
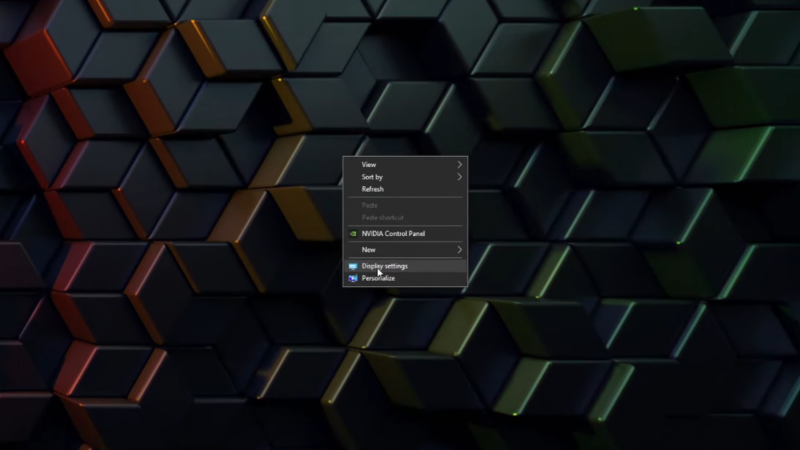
Sometimes, the problem could be with your device’s display settings. Here’s how to check:
- Right-click on your desktop and select ‘Display settings’.
- Under ‘Multiple displays’, select ‘Duplicate these displays’ if you’re using multiple monitors or ‘Show only on 1’ if you’re only using one monitor.
- Click on ‘Apply’ and ‘OK’.
6. Inspect the HDMI Port

Lastly, a faulty HDMI port could also be the culprit. Inspect the HDMI port on both your device and your Asus monitor for any visible damage. If you find any, you may need to contact a professional to repair or replace the port.
7. Disable Fast Startup
Windows 10’s Fast Startup feature is designed to reduce the time your computer takes to boot. However, it has been known to cause some compatibility issues, including the ‘HDMI No Signal’ problem.
Here’s how to disable it:
- Open the ‘Control Panel’ on your computer.
- Click on ‘Power Options.’
- On the left-hand side, click on ‘Choose what the power buttons do’.
- Click on ‘Change settings that are currently unavailable’.
- Under ‘Shutdown settings’, uncheck the box that says ‘Turn on fast startup’.
- Click on ‘Save changes’ and restart your computer.
8. Try a Different Display Mode
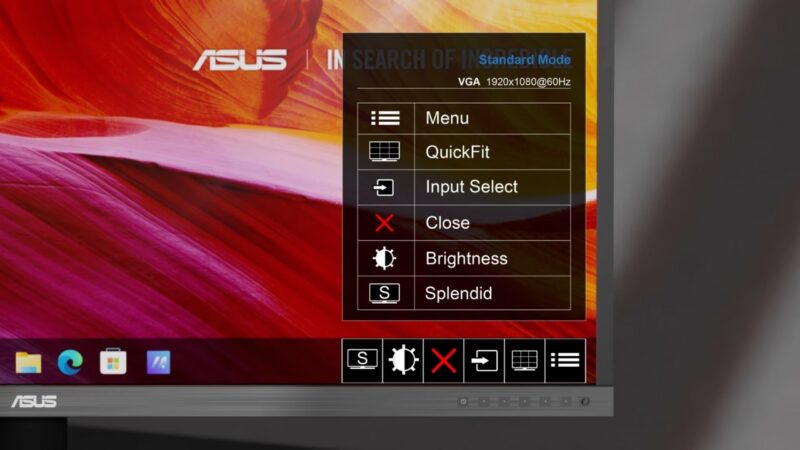
Sometimes, the display mode or resolution used by your computer may not be compatible with your Asus monitor, resulting in the ‘HDMI No Signal’ issue. You can try changing the display mode to see if this resolves the problem.
- Right-click on your desktop and select ‘Display settings’.
- Under the ‘Resolution’ drop-down menu, select a different resolution that’s compatible with your monitor.
- Click on ‘Apply’ and ‘OK’.
Remember, each monitor has a different native resolution. Check your monitor’s user manual to find out what resolutions it supports.
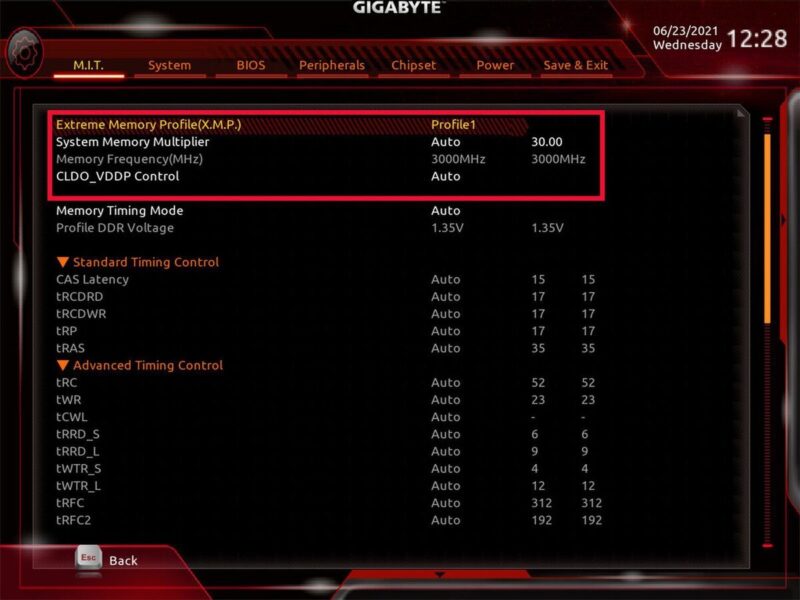
9. Troubleshooting BIOS
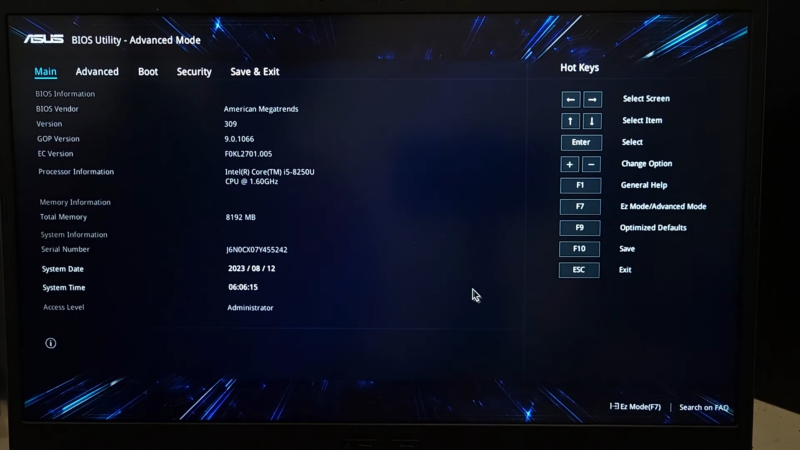
The BIOS (Basic Input/Output System) of your computer manages the communication between your system’s hardware and its operating system. If there’s a problem with your BIOS settings, it might lead to the ‘HDMI No Signal’ issue.
You can try resetting your BIOS to its default settings to resolve the issue. Remember, entering the BIOS interface varies among devices, but it’s usually accessible by pressing a specific key (like F2, F12, DEL, or ESC) during the boot process.
Once you’re in the BIOS interface:
- Look for an option to reset the BIOS to its default settings. This option is often under the ‘Exit’ tab and might be called ‘Load Setup Defaults’ or similar.
- Select it and confirm your choice.
- Exit the BIOS, making sure to save changes.
10. Reinstall Your Graphics Card Driver
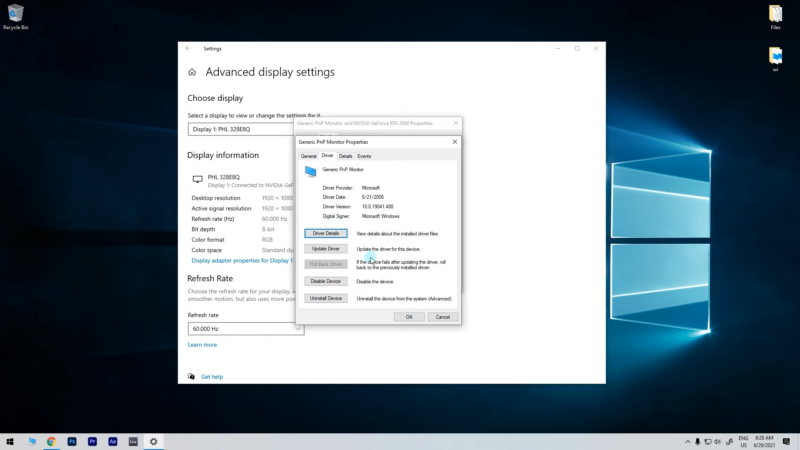
If updating your graphics driver didn’t solve the issue, reinstalling it might do the trick. Here’s how:
- Open ‘Device Manager’ on your computer.
- Expand the ‘Display adapters’ section.
- Right-click your graphics card and select ‘Uninstall device’.
- Follow the prompts to uninstall the driver.
- Once the driver is uninstalled, restart your computer. Windows should automatically reinstall the graphics driver during the restart.
Still, when dealing with more advanced troubleshooting methods, proceed with caution.
If you’re unsure about any step, it’s better to seek help from a professional to avoid causing further issues, especially when trying to figure out why your monitor suddenly turns green.
And if all else fails, professional repair services can diagnose and fix even the most stubborn tech issues.


